
Image processing with Neptyne for Google Sheets
Note: This tutorial requires enabling Advanced Features. Head here for more information.
Images are handled slightly differently in Neptyne for Google Sheets and Neptyne Core. If you're using Neptyne Core, head to this tutorial to learn more about how Neptyne images are completely native to the spreadsheet there!
Let's start with the basics. Pillow is the most popular way to do image processing in Python, and all Neptyne images are Pillow images! First, let's put an image into our spreadsheet.
Add this function to your editor, and run the below code in A1
def process_image():
    return IMAGE("https://i.imgur.com/xqDKoRb.jpeg")

# In A1
# =Py("process_image")
We've dragged the image down slightly so you can see the return value. Notice in A1, we just have placeholder text, but Neptyne automatically renders the image floating above the cell. Also notice the use of the IMAGE function inside of process_image. This function is built into Neptyne to mirror Google Sheet's IMAGE function as an easy way to load an image from an url.
It's also quite simple to render an image inside of a cell instead of having it float on top of the sheet.
import neptyne as nt

def process_image():
    return IMAGE("https://i.imgur.com/Jvh1OQm.jpeg")

def image_in_cell():
    return nt.url_for_image(process_image())

# In B1
# =IMAGE(Py("image_in_cell"))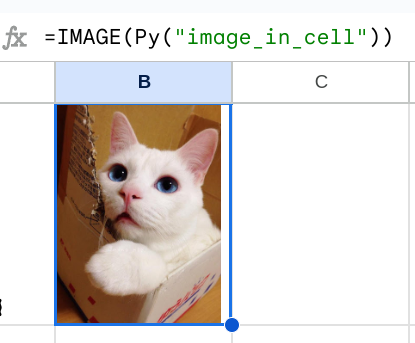
Check out the return value of image_in_cell() using the REPL. It will be a url similar to https://storage.googleapis.com/neptyne-gsheets-images/02511c28-9984-4d2a-94e3-a0cf9a941d82.jpeg, with the help of nt.url_for_image. Within the spreadsheet, because Py("image_in_cell") returns an url, we can wrap it with Google Sheet's IMAGE function, and now we have an image embedded inside of a cell. We resized the cell here to make the image a bit more visible.
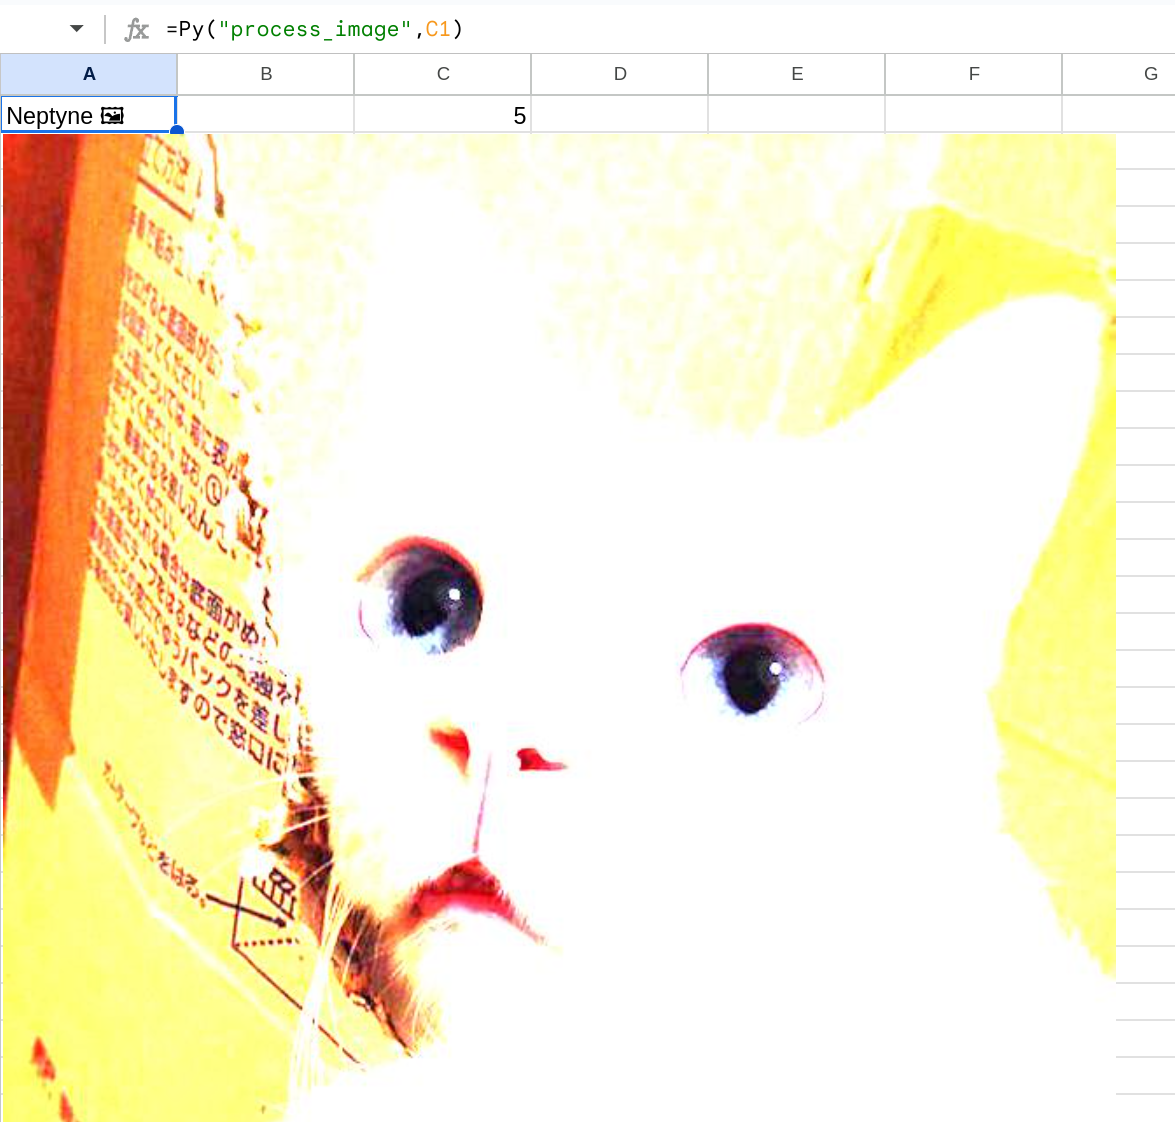
Finally, let's actually do some image processing. We'll use PIL's ImageEnhance to brighten the image. We also change the code in A1 to grab the brightness value from C1. By default the brightness is 1, unmodified but if we bump it to 5 we end up with a very overexposed cat.
import neptyne as nt
from PIL import ImageEnhance

def brighter(img, level):
    enhancer = ImageEnhance.Brightness(img)
    return enhancer.enhance(level)

def process_image(level=1):
    img = IMAGE("https://i.imgur.com/Jvh1OQm.jpeg")
    return brighter(img, level)

def image_in_cell():
    return nt.url_for_image(process_image())

# In A1
# =Py("process_image", C1)
You can make a copy of the final result here.
There's much more that's possible with image processing, so definitely check out Pillow's documentation or head to our Discord server if you have any questions!

